Expected result
After quick start, the gateway should open in a browser, use the selected language, have an operating mode, see at least one Modbus line, and show live values for at least one device on the Control page.
Before connecting
Prepare a laptop with Ethernet or a USB-Ethernet adapter, an Ethernet cable, gateway power, and, for RS-485 checks, at least one known Modbus device with known serial parameters. Wired access is the best first step because it does not depend on the site's Wi-Fi profile.
| Parameter | First-access value | Comment |
|---|---|---|
| Gateway Ethernet IP | 192.168.4.2 |
Deterministic Ethernet static profile when no saved configuration exists. |
| Netmask | 255.255.255.0 |
Set the laptop to the same subnet, for example 192.168.4.10. |
| Browser address | http://192.168.4.2 |
If the device is already configured for DHCP or another static IP, use the actual site address. |
| Username | admin |
The current repository bench materials use the local admin account. |
| Password | admin |
Factory local access is normally admin/admin unless delivery notes or the integrator define another password. Change it after login. |
First Ethernet connection
192.168.4.10 with mask 255.255.255.0.
http://192.168.4.2. If it does not open, check laptop IP, cable, power, and VPN/proxy settings.
192.168.4.2. Record the actual site address.
First-start sequence
Three completion paths after local proof
Prove local operation first: the device exists in Setup, appears in Control, values update, and commands return an understandable result. Only then choose the final integration path.
| Mode | Use when | Check after local Control |
|---|---|---|
MQTT_DISABLED |
The gateway remains local with no outside broker or cloud. | Dashboards, local scenarios, Storage, Modbus Log, and clear line statuses. |
UMEC_SPACE |
The recommended high-impact path: dashboards, mobile app, alerts, notifications, and remote control through UMEC Space. | Cloud runtime, MQTT connection, correct provisioning; BLE pairing is available only in this mode. Check the gateway in Dashboard, mobile access through UMEC Home or UMEC Business. |
MQTT_GENERIC |
Data must be published to a third-party MQTT broker. | Broker URL, auth/TLS, redacted password, publish/subscribe topic preview, and actual message publishing. |
Final check after adding a device
Minimum settings by area
| Area | Action | Healthy signal |
|---|---|---|
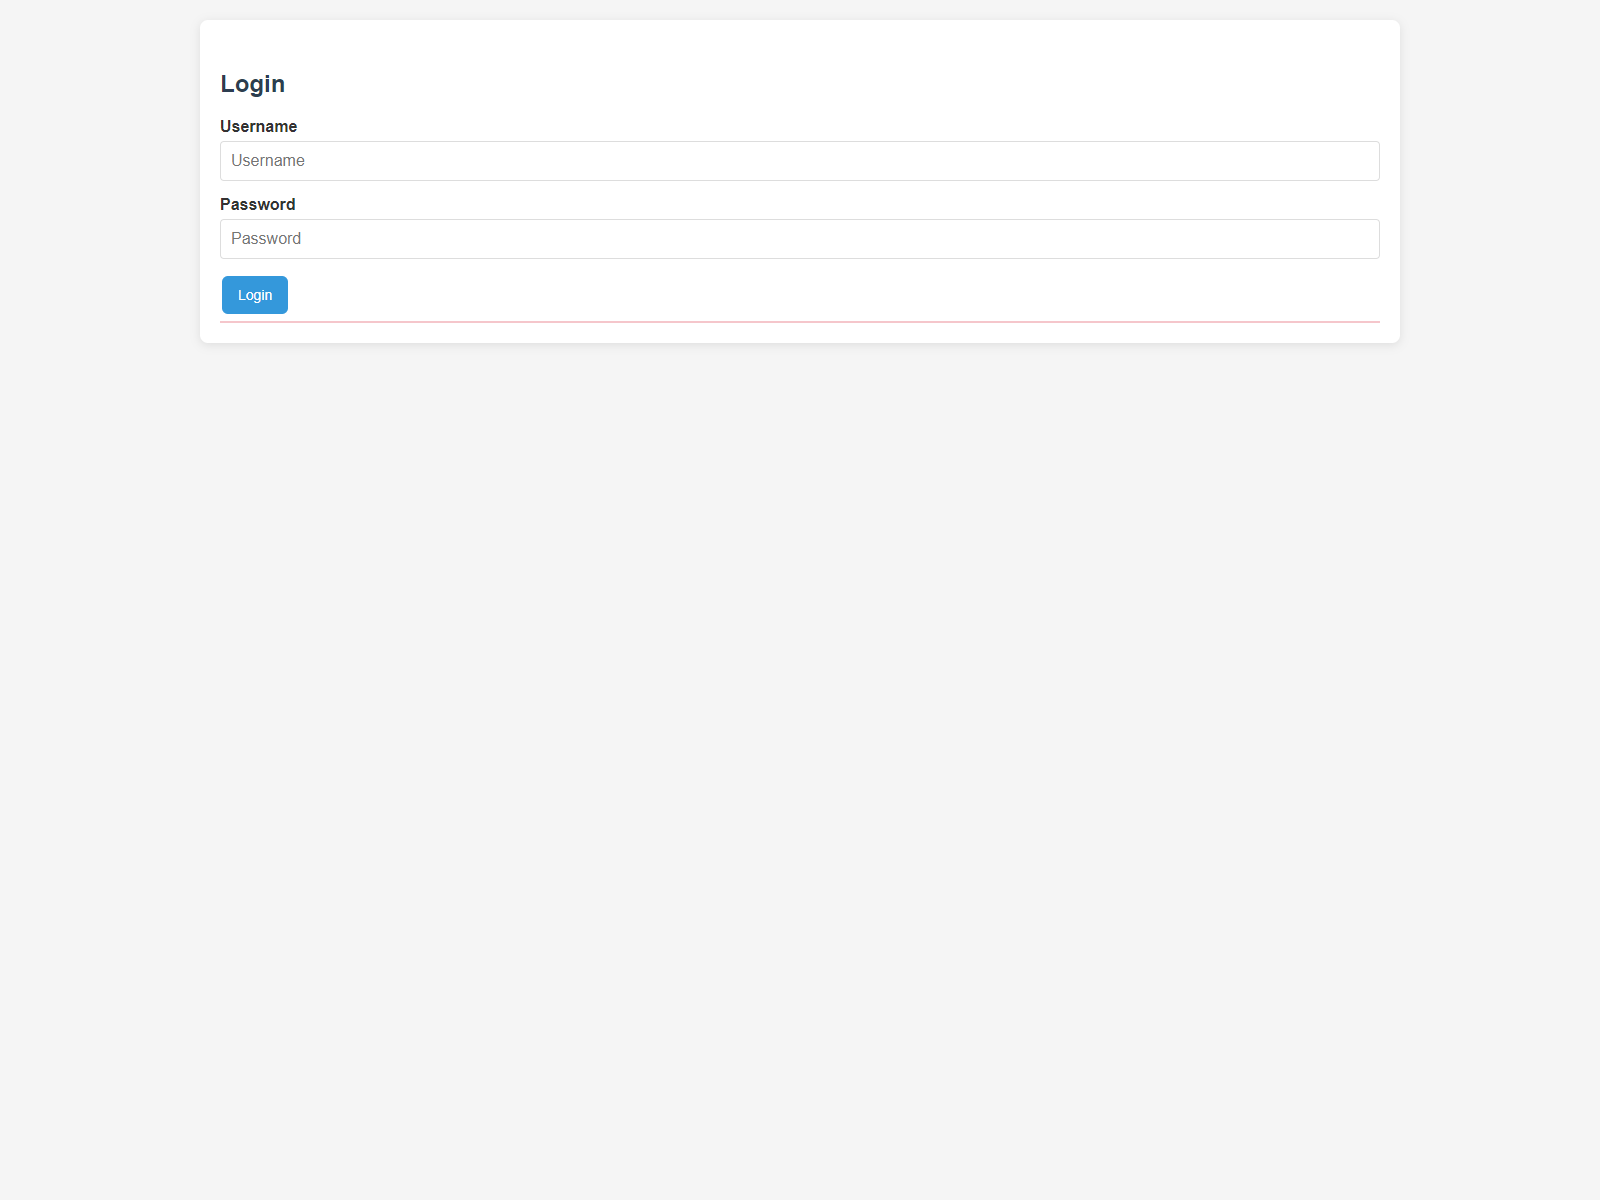
| Login | Choose language and sign in with an operator or administrator account. | The protected shell opens with runtime status pills and navigation. |
| Settings | Set operating mode, network, time, and line modes. | The section shows success or a clear reason why saving was rejected. |
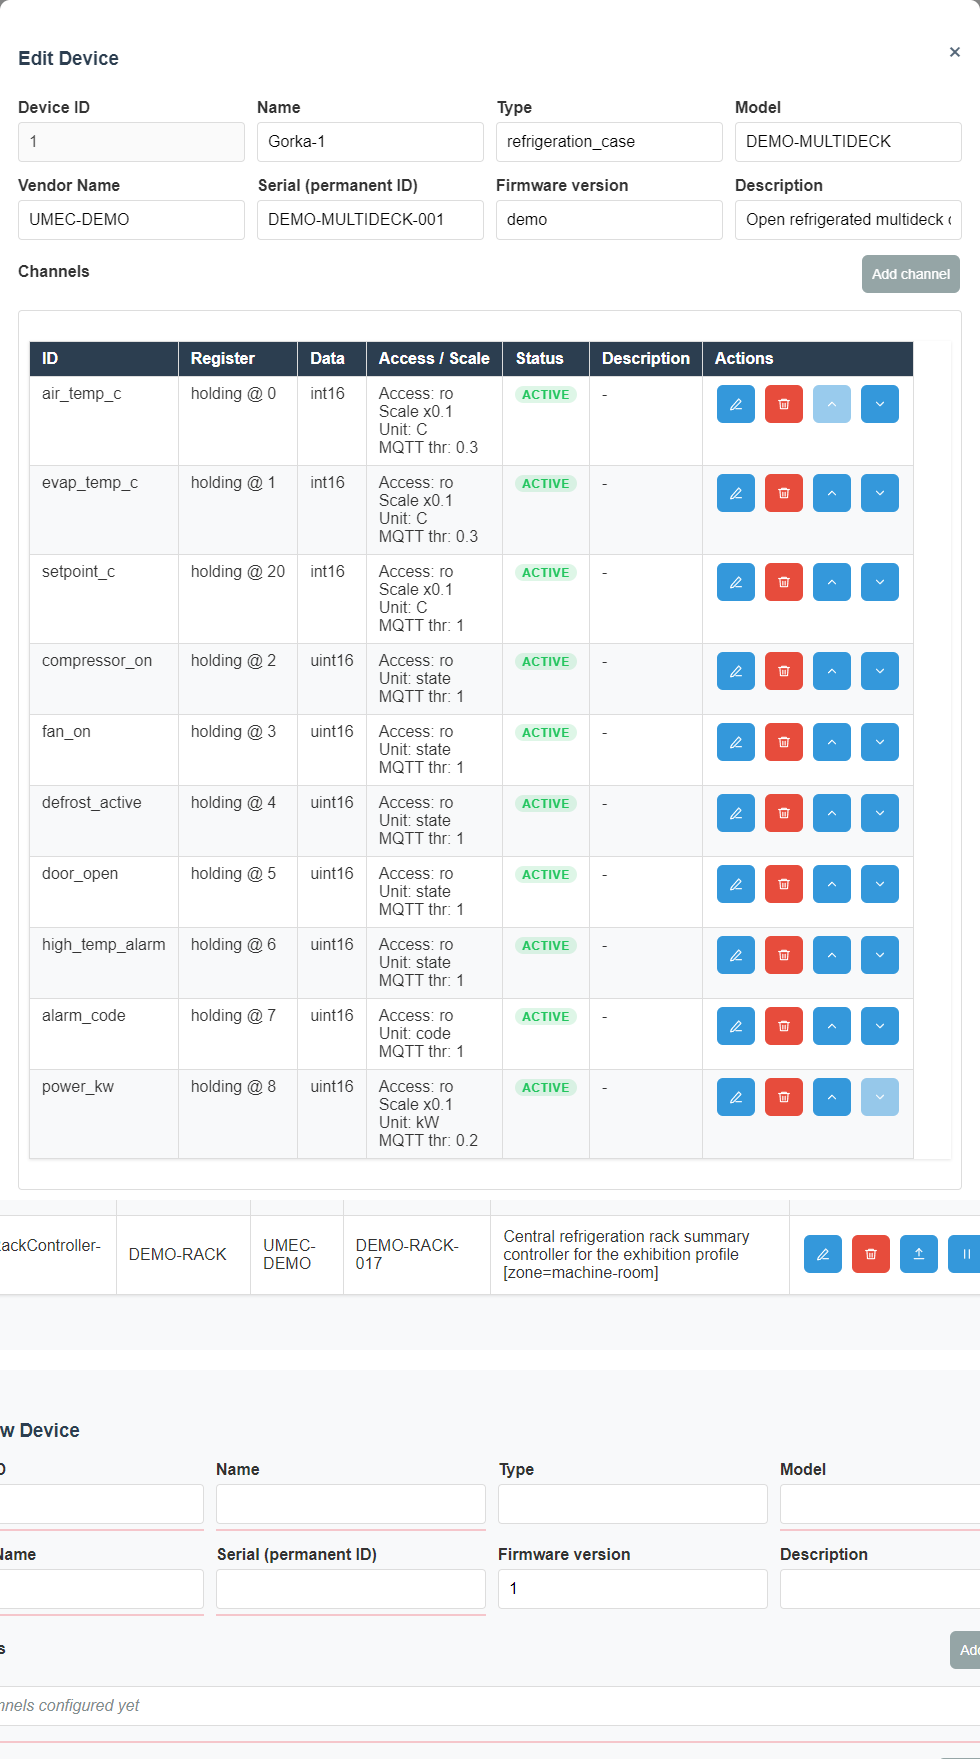
| Setup | Create line/device data, channels, and commands. | The device appears on the selected line and is not mixed with another line. |
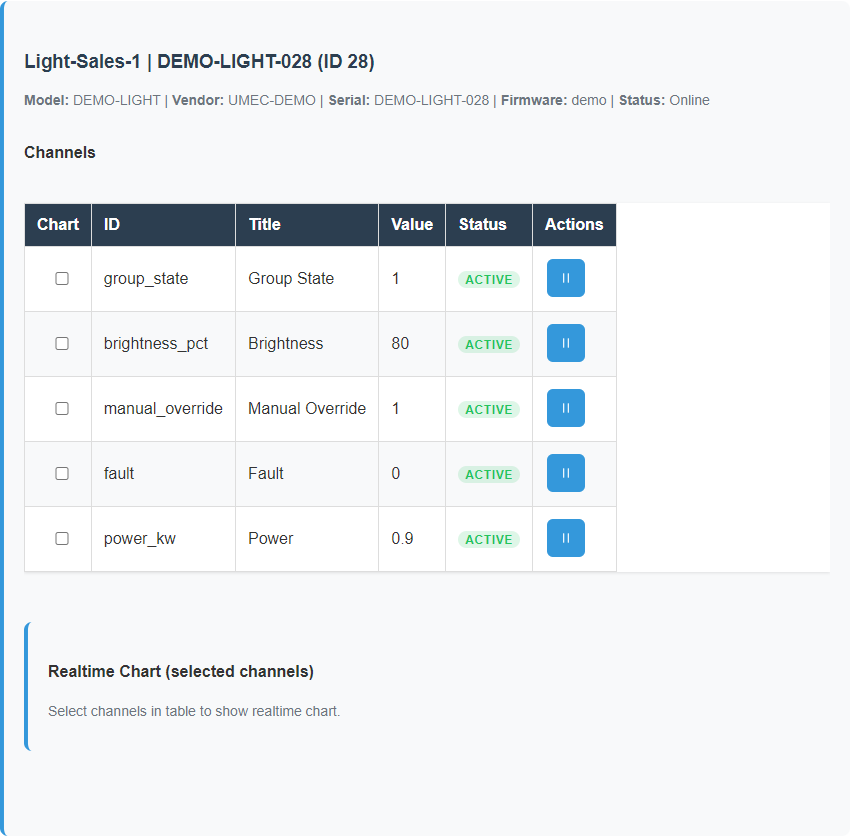
| Control | Select the device, check values, and mark channels for charts. | Values are fresh, errors are visible, and charts update without page jumps. |
| Storage and logs | Confirm that configuration files and logs are available for service work. | The file tree opens and the selected file can be viewed or downloaded. |
What not to do in the first hour
- Do not enable external integration before local polling is verified.
- Do not edit JSON in Storage when the same task can be done through Setup.
- Do not use factory reset for a normal communication issue with one device.
- Do not confuse RTU transparent mode and TCP mode: TCP is a separate integration channel.
Primary visual checkpoints
Login
Device in Setup
Live values
Where to go next
If first start is successful, continue with Commissioning. For regular use, read Operations. For operator screens, move to Dashboards.